Showing posts with label day caps. Show all posts

Saturday, March 2, 2024

"Cap for a Young Member of the Society of Friends” The Workwoman’s Guide, Plate 15, Fig 14 & 16 (Tutorial with Videos)

In November 2023, I taught a daycap workshop at the 1820 Col. Benjamin Stephenson House. I chose three caps to focus on that are not the typical 'reenactor' caps most ladies wear. All three were originally published in "The Workwomans Guide" in1838. This is the third tutorial from the workshop. Here are the other two, "Cap for a Young Lady" and "Another Cap".

This cap is called "Cap for a Young Member of the Society of Friends". It is definitely not limited to young women as this style is often seen in paintings being worn by a wide range of ages. Its shape is very typical of the first half of the 19th century.

The size of this cap easily covers the entire head. Having a bad hair day is not a problem, this cap has you covered...literally. It's adjustable to a certain extent and can easily be dressed up or dressed down, depending on your interpretation.   I highly recommend doing a mockup of this cap before cutting into your good fabric since the original size is rather large and comes down the neck quite far. 

As for fabric, use either a light-weight linen or cotton. The cap in the photo (above right) is made of linen and when starched (it is not starched in the photo), holds its shape very well. Organdy or cotton batiste would be excellent choices too.

Of the three caps I presented, this one is the most time-consuming. It is not hard to put together but it is a little more fussy than the other two. The extra time is worth it though. The original pattern is measured out in 'nails' not inches. The book offers detailed information on how to measure using nails on page 14. To make drafting these patterns easier, I made a ruler with the nails already marked out. For reference, a Nail is 2 1/4".

Below are the original instructions and images provided in the book. 


Original illustration and instructions from "The Workwoman's Guide".


1. Cut out the caul (front) and crown (circle). Mark points B, D, and C, and the halfway point between D and E (blue line on curve) on both sides with a fabric marker for future reference. The halfway mark between D and E indicates two quarter sections on the back of the caul (D and E are the other two). This mark was not on the original pattern but is useful once you get to steps 7 and 8.


Mark the crown at the quarter points with a fabric maker.

Crown pattern piece showing the quarter marks.


2. Sew a narrow flat-felled seam between points E and F. Start by offsetting the cut edges 1/8” – ¼”.


Use a small running or spaced back-stitch to sew the two pieces together.


Press the seams so the wider edge covers the narrower one. In the photo below, both cut edges are pressed to the left. If you look closely, the narrow edge (underneath) is visible through the fabric.


Fold the wider edge under the narrow one to enclose the cut edges. Pin in place and whipstitch down.


3. On the curved edge between D & E, mark a 3/16” seam allowance from the cut edge around the caul's top opening. 

The light purple dots mark 3/16" from the cut edge.


Press the fabric over at the 3/16" mark (pictured above) then press it over again (next photo), enclosing the cut edge inside the seam. Do Not Sew The Seam Down Yet!


The seam turned and pressed but not sewn down yet.


4. Make a small eyelet at point D before whipstitching the caul seam in place. This should be on the outside of the cap. The finished seam will create a drawstring channel.

Point D is marked with a purple dot.


Using a bodkin, create a hole at D on the outside of the cap.

Finished eyelet on the outside of the cap. Now the seam around the caul can be whipstitched into place.

5. Repeat the above process around the front and neck edges of the caul creating a small eyelet on the outside of the caul at point B before whipstitching the seam in place.

Whipstitching the front and neck edges of the caul.


Whipstitching around the front and neck edges of caul


6. Sew a small rolled hem around the crown piece. Here is a short video of how I do a rolled hem.


7. You should have marked the quarter points on the caul in Step 1. If not, then mark them now. There will be one mark at point D, one at E, and one halfway between these two points on each of the curved sides.

Quarter points being marked on the caul.

The quarter mark located halfway between D and E on one side of the cual. 


8. Using a thicker thread, sew a whip-gather over the rolled hem between each quarter mark on the crown. Do not cut the thread short after sewing each quarter; leave the ends long. This is how you will gather the crown to fit the caul. It's easier to gather each quarter section of the crown separately before attaching it to the caul. That way if your thread breaks while you're pulling the gathers, you only have to redo a small section.  


Sewing a whip-gather stitch over the crown's rolled hem.

For additional detailed descriptions of how to do whip-gathers, refer to “The Lady’s Guide to Plain Sewing” by a Lady (Kannik’s Korner)

Attach the crown to the caul by matching the quarter points then evenly distributing the crown gathers between the marks. Attach the gathers using the same technique for attaching ruffles in my previous cap posts;  “Another Cap” and "Cap for a Young Lady" Below is a quick video of how I attached the ruffle


The crown gathers pinned to the caul and evenly distributed between quarter points.

9. Run a narrow drawstring through the casing created in Step 3 and tie the strings together. (Not pictured) This allows the crown's fit to be adjusted. 

10. Cut a piece of fabric (either the same used for the cap body or something lighter weight) to make a ruffle. I recommend using a lightweight fabric for the ruffle as it makes it easier to gather and attach. The length should be double the front and neck edge measurements and at least 1.5” wide. If you are unable to cut it as one long piece, you may need to sew shorter pieces together. Join the two short ends of the ruffle piece together using a flat-felled seam. Sew a rolled hem along both long edges of the ruffle. This will finish all the cut edges and keep the ruffle from fraying. 

Sew a whip-gather over the rolled hem using a thicker thread along one long edge of the ruffle. As in step 8, it's easier to do this process in quarter sections. Carefully, but firmly, pull the thread to create gathers. Evenly distribute the gathers along the outside edges (front and neck) of the cap.

*I've covered ruffles in my previous cap tutorials so I won't go into a lot of detail here. Read “Another Cap” and "Cap for a Young Lady" for additional details.


11. Attach the ruffle to the front and neck edges using the same technique shown in the video from step 8.

Detail of attaching the ruffle to the front of the cap.


How to open your finished ruffle once it's completely attached.


12. Using an embroidery needle, run a narrow drawstring through the eyelet at point B down the cap's front channel to point C. Bring the needle through the wrong side of the fabric at point C. Make a couple small back-stitches at C to secure the cord in place. 

Repeat for the other side. 

This front drawstring can be tied to fit your face and untied for laundering and ironing the cap.

13. Attach chin ties. Cut two ¾” x 14” strips (of the same fabric used for the cap or something lighter weight) to create chin straps. Roll hem both of the long edges and one short edge on each tie. Gather the unfinished short edge and sew it to the inside corner of each front side.

*Also detailed in my previous cap tutorials; “Another Cap” and "Cap for a Young Lady


Happy Sewing!!

Sunday, February 25, 2024

Cap for a Young Lady “The Workwoman’s Guide”, Plate 15, Fig. 1 & 2 (Tutorial)


Cap for a Young Lady
     This daycap is one of my absolute favorites. It has a unique shape and frames the face beautifully. And, it is one of the easiest caps I've ever sewn. The original instructions were published in "The Workwoman's Guide", c. 1838. If you've been following my blog for long, you'll know this is my go-to book for historical sewing patterns. It's full of just about anything you can think of, and then some. This cap was one of three that I taught during a workshop at the 1820 Col. Benjamin Stephenson House in November 2023. 

     To read a tutorial on one of the other caps presented during the workshop, check out my previous post “Another Cap” The Workwoman’s Guide, Plate 9, Fig 27 & 28 (Tutorial). In that post, I cover the period measurement of "nails" used to draft patterns from the book which I will not reiterate here.


The finished cap (minus the chin straps) modeled by my daughter.

"The Workwoman's Guide" refers to this cap as one appropriate for a young lady but I'm not sure why it wouldn't have been worn by older women as well. I will say the original pattern runs very small so if you have a larger head and a lot of hair (like me), you'll need to make a mockup first then enlarge it to fit.  The final cap's shape is slightly different than the one shown in the illustration; the back seam and gathers are actually placed higher up on the finished cap's center back than what is depicted in the original drawing.


The original instructions from the book.


The pattern is cut as one piece of fabric with a fold at the top of the daycap between points A & B (see pattern piece below). I disregarded the last three sentences of the instructions since they were not necessary for fit. The cap runs small anyway so the addition of a "coloured ribbon" between E and F to draw it up seemed redundant.  However, the addition of a "broad runner" and "bow" would be nice details to dress up this simple cap and could be tacked on for easy removal when laundering or wanting a change.


Drafted pattern.

Before beginning, make a mockup out of cheap fabric. This will ensure a proper fit and help work out any issues before cutting your good fabric. I recommend using white or off-white, lighter-weight linen, cotton organdy, or cotton batiste. The ruffle can be made out of the same fabric as the body or from a lighter-weight fabric in the same color. If you don't want to take the time to sew a ruffle by hand (probably the most time-consuming part of this pattern) then a premade lace could also be used.


Step 1. Sew a narrow flat-felled seam from point F to H at the lower center back of the crown. 

Offset the cut edges about 1/8”-1/4”. Use a small running or spaced backstitch to sew the two pieces together. 


Open the seam up and press the longer edge over the short one. 


Fold the long edge under the short one to enclose the cut edges. Pin in place and hemstitch down.


2. Run a gathering stitch from points B & C on the back of the crown. Gather to fit the small section between points H & C and backstitch in place with a ¼” seam allowance. Finish the seam edge by overcasting the cut edges.

The finished seams of the gathered crown and center back.

3. Mark the hem along the front and bottom 3/16” from the cut edge. Press the fabric over at the mark then press it over again, enclosing the cut edge inside the seam. Whipstitch the seam in place.

The dotted line is the 3/16" mark.

Pressing the 3/16" seam over on the first turn. It should be turned again to enclose the cut edge before whipstitching it down.

At this point, the body of the cap should be complete. Now on to the ruffle. If you're using a premade lace ruffle, attach it along the front and lower edges, otherwise proceed to Step 4.


4. Cut a piece of fabric (either the same used for the body of the cap or something lighter weight) to make a ruffle. It should be double the front and neck edges measurement and at least 1.5” wide. 

Join the two short edges with a narrow flat felled seam.


5. Sew a narrow rolled hem along both long edges of the ruffle.

Creating a rolled hem along one long side. Repeat on other long side.

Creating a rolled hem along one long side.

6. Using a thicker thread, sew a whip-gather over the rolled hem (created in Step 5) only along one long edge of the ruffle. Carefully, but firmly, pull the thread to create gathers. Evenly distribute the gathers along the outside edges (front and neck) of the cap.

The whip-gather before it has been pulled to create the gathers.

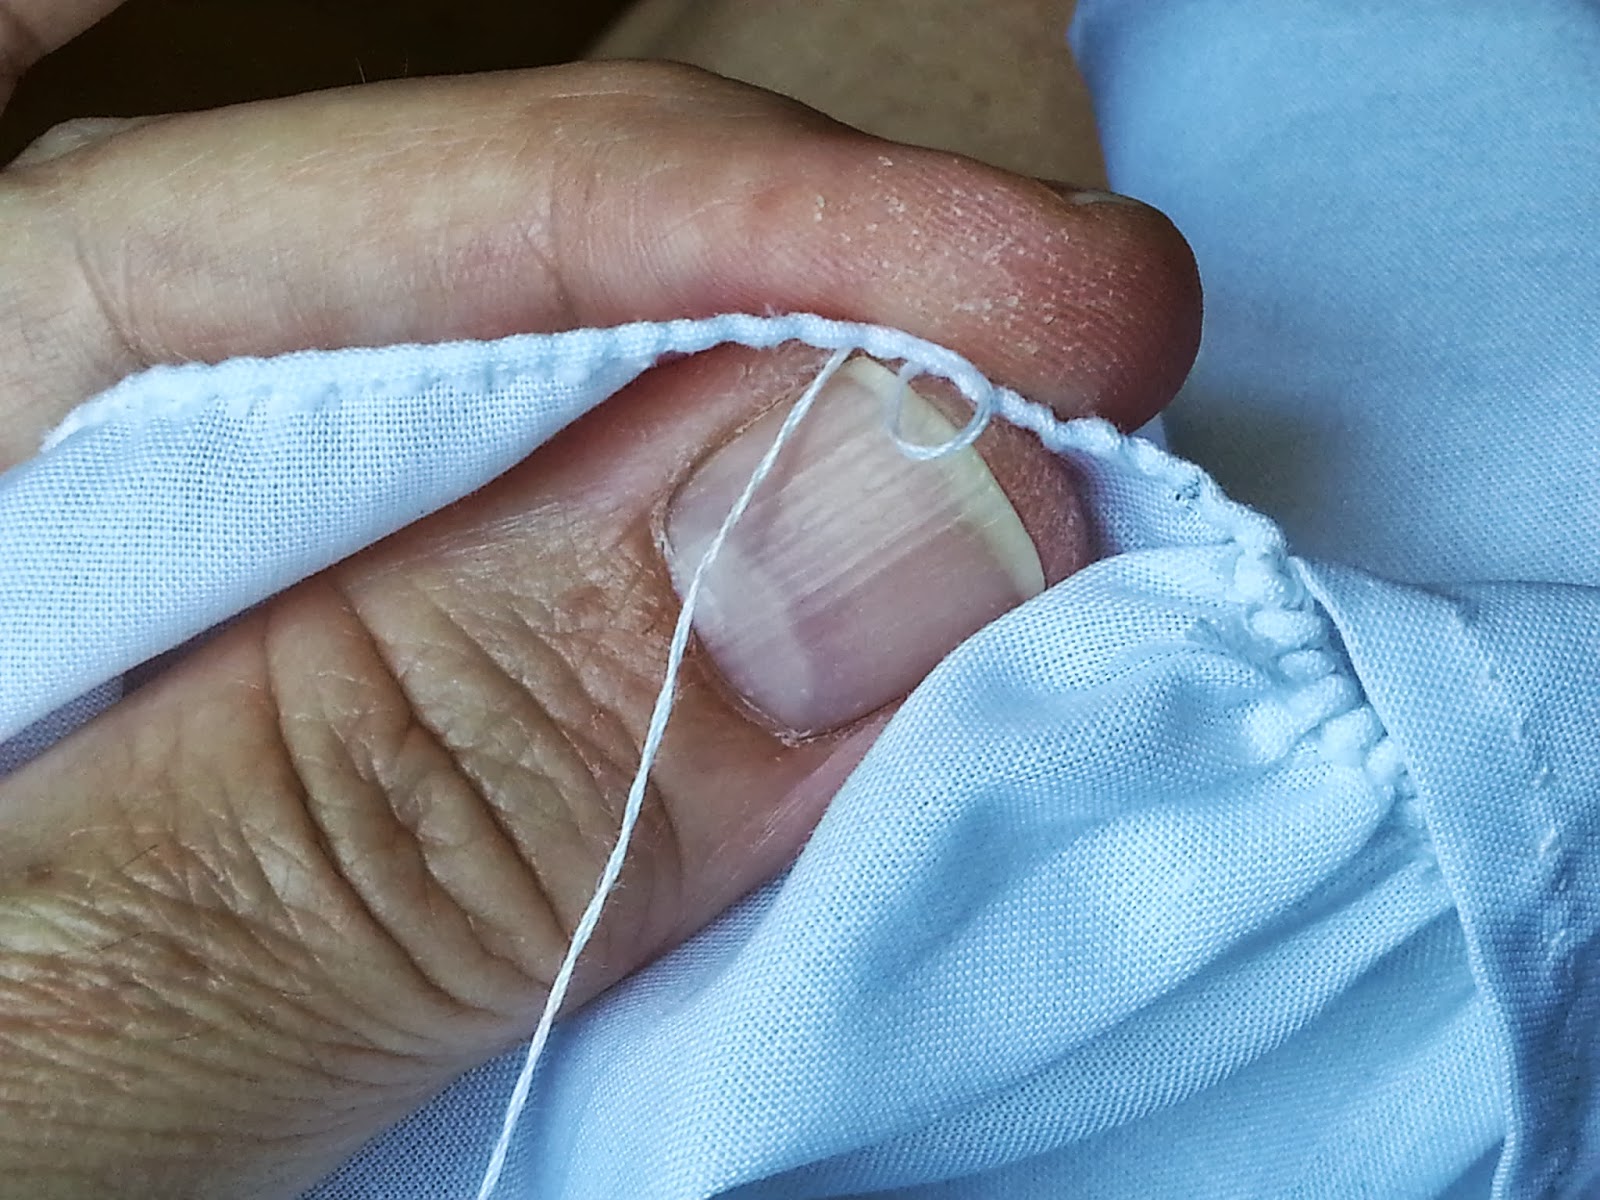
7. Attach the gathered ruffle to the cap.  Put your needle through the loop of the gather (aka 'hill') from back to front (as seen below) then pick up the top threads along the edge of the cap (only catch the very edge).  Your thread should naturally lay in the 'valley' between the 'hills' on the ruffle. Pull the thread snugly but not tight. 

*For a detailed description of how to do a rolled hem and a whip-gather, refer to “The Lady’s Guide to Plain Sewing” by a Lady (Kannik’s Korner). If you don't already own this book, I highly recommend it.

Attaching the ruffle to the cap.


 8. Once the ruffle is sewn to the cap, turn the ruffle out so the hems are butted together.


9. Attach chin ties. Cut two ¾” x 14” strips (of the same fabric used for the cap or something lighter-weight) to create chin straps. Roll hem both long edges and one short edge. Gather the unfinished edge and sew to the corner of each side.

Chin strap attached to one side.


Your cap should now be complete. 

I love seeing others' creations. If you made this cap, please share photos in the comments below. 


Saturday, March 16, 2019

How to Wear It: The Day Cap


HOW TO WEAR IT: The Day Cap

The day cap is an item of clothing that ladies of the early 19th century were very familiar with. It served a practical purpose as well as a fashionable one. Many female docents find wearing a day cap awkward. It oftentimes appears the cap is wearing them not the other way around. The trick to being comfortable and looking like it’s a part of your everyday ensemble is to know how to wear it properly.

The first thing to consider is the purpose of the caps. There was a wide range of day caps worn by our ancestresses. Some were worn at specific times of day or specific times in life. When choosing a day cap think about who you are portraying and what you're interpreting. A fashionable cap of expensive lace and ribbons is probably not going to be worn by a laundress or field-hand.


Do you like the cap you're wearing? Does it suit you? Not every cap looks becoming on every face. If possible, try on a variety of different styles to find one that feels right and you like the look of. When you feel good in something it shows. There is a large selection of day cap styles in the Stephenson House wardrobe. Docents are encouraged to try them all. An important thing to keep in mind, as a docent, are interpreting the clothing of the time period in conjunction with the era. You want to give the illusion that these are your everyday clothes, not a costume.

Another thing to consider is whether the cap is the right size for your head. One size does not fit all in this case. If you have a cap that looks like it’s eating your head, then that’s a good indication it’s the wrong size. Some caps were originally cut fuller to accommodate more hair and others sat very close to the head. Many patterns on the market are based on measurements from extant caps. Resizing is a relatively simple thing once you know how a particular cap is constructed. Again, trying on House caps is a good way to check the fit since they are made straight from a pattern without modifications.

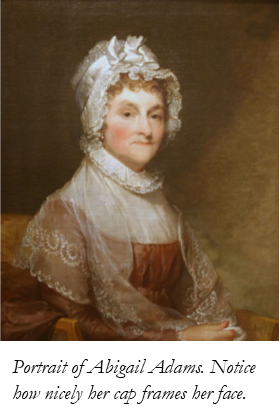
A day cap should frame your face not cover it up. The biggest mistake docents make is pulling the cap so far forward that it covers part of the forehead. Another no-no is wearing a cap like a chef’s toque. A day cap should sit on the back two-thirds of your head, not directly on top or over the forehead.


The early 19th century had a very distinctive day cap silhouette. When choosing a cap be mindful of fabric, shape and your hairstyle. A modern hair cut can drastically affect how a cap looks and fits.  Women in the 1820s typically wore their hair longer so it could be pulled back from the face and pinned up on the crown. Their caps were designed to accommodate this style. Docents can easily achieve a period profile while hiding a modern haircut underneath their caps. Stiffer, yet lightweight, fabrics such as organdy or well-starched linen will hold it’s shape without the need for a period coif for support. Whenever possible, modern hair should be pulled back from the forehead and hidden under the cap. Curls around the face are acceptable but not bangs. Bobby pins or headbands help to secure the hair when necessary. Don’t let a modern hairstyle destroy all the study, research and effort put into your historical interpretation.


It should be mentioned that day caps were not worn 24/7 by every woman. Ladies with fashionably dressed hair, often went with their hair uncovered. One historical myth often told at historic sites or by reenactors at events is that women who went without a cap were prostitutes...this is completely incorrect. Look at paintings from the period, there are lots of women from all social classes not wearing day caps.


Monday, August 12, 2013

A Neat School Girl's Day Cap

One of my favorite historical reference books is The Workwoman's Guide: A Guide to 19th Century Decorative Arts, Fashion and Practical Crafts by a Lady, originally published in 1838. Personally, I think anyone who does period sewing for the early 19th century should have a copy in their reference library. This book is Wonderful! It has instructions for everything from undergarments to bed hangings. The instructions can be challenging at times because the author assumes that the reader has basic knowledge of hand sewing techniques in general use at the time. Unfortunately, today's seamstress may find herself at a loss when deciphering the measurements and instructions if she has no experience with traditional hand sewing techniques..
My reprinted copy purchased from Amazon.com

Recently, I decided to draft and make the pattern on page 64 entitled, A Neat School Girl's Cap (illustrations on page 63, plate 9, figures 13 & 14). Of course, I would pick the pattern with the vaguest instructions (as a professor in college once said to me, "You can't start with the easiest project can you? You have to go straight for the most challenging.") Anyway, after some serious head-scratching over the non-existent details of construction I decided to reference what I already knew about cap construction techniques. The day cap was of simple design and what the instructions didn't elaborate on was easy to figure out.
Illustration of cap on page 63. Some of the measurement are visible.

Actual instructions from the book:

    " This pattern needs little further explanation, the shape and size are so clearly given in the Plate. The head-piece is sloped off at the ears, beginning to cut at 1 nail above the corner, to 1 nail beyond the corner, at the bottom of the cap.
     This cap is for school-girls, and is particularly neat if of checked muslin with corded muslin frills."

Seems clear as mud!

First, I drafted the pattern based on the measurements and the illustration. One thing about drafting patterns from this book is the type of measurement used. The author uses the measurement of 'nails' not inches. Luckily on page 14 there is a section on how big a 'nail' is in comparison to an inch; 2 1/4 inches equals 1 nail. You will want to create some type of measuring apparatus to make drafting easier. I created my 'nail' ruler several years ago while making another project from the book.
I used the backside of an old ruler to draw out the 'nail' measurements. 


Measurements for this cap are as follows (I have left out the additional measurements for fabric yardage which the author includes for economical cutting of more then one cap):

Length of crown down the selvage...6 nails
Width of the crown, or three in the breadth.....8 nails
Length of the head-piece down the selvage.....8 nails
Width of the head-piece, or twelve in the breadth....2 nails

As I was drawing the draft I studied the illustration and made changes where necessary. Each piece started out as a rectangle. The crown was 8 nails by 8 nails. The curve for the crown began 6 nails up from the bottom and sloped gently to the center back. The headpiece measured 2 nails wide by 4 nails long (the illustration provided the 4 nails measurement) with the curve beginning 1 nail from the corner on the long edge to 1 nail from the corner of the short edge. Here is how my final draft looked.
Final draft of the cap pattern.

Once I was happy with the draft it was time to start cutting. I cut one of each pattern piece. The crown was cut with the center back on the fold. The headpiece was cut with the short straight side on fold. The fabric used for this project was 100% cotton batiste from my stockpile. I would have preferred to use a nice light weight linen but made due with what I had on hand.

One thing I noticed studying the draft was the crown is extremely wide at the neck edge. The illustration shows no evidence of a drawcord along the neck edge to help fit the cap to the head. Since the instructions were vague and the author obviously expects her readers to know what to do, I decided to add a casing for a drawcord. The casing is folded 1/4" plus another 1/4". I also stitched an eyelet on the outside center of the casing to allow for the drawcord to be tightened or loosened according to the wearers preferences.
Eyelet sewn on the outside of crown casing at center back of neck edge.  I stitched the eyelet before sewing the casing.

The crown cut out with the neck edge casing folded and pinned. Ready to start sewing.

The casing was sewn with a plain hem stitch.
Once the casing and eyelet were complete, I inserted the drawcord. The cording (also called tape) I used was purchased from Wm. Booth Draper (http://www.wmboothdraper.com/). It is roughly 1/8" wide. I buy a lot of this cording because it is very versatile in period garments (they have other widths too). It is wider then period cording but I have not found anyone producing anything close to period cording; which was very thin and durable.
Cording inserted into casing on crown. 

1/8" cording from Wm. Booth Draper. 
Around the outside edge of the crown I worked a rolled hem. This created a very nice finished edge that will be attached to the headpiece. It's important to work the rolled hem from the bottom of the crown edge (including the casing and cording) all the way around to the other side. 

Rolled hem edge including the casing and cording. 
Detail of rolled hem edge around crown.


The crown with the rolled hem complete.

Once the crown was finished, it was time to move to the headpiece. I started by pressing the front of the headpiece (the side with the curves) with a 1/8" fold + 1/8" fold. This required some finagling around the curves. I used a plain hem stitch to finish the hem.

Headpiece with the front edge hemmed. The straight side (back of headpiece) is pinned for hemming.
The straight edge of the headpiece was stitched last. I used the same hem measurements as the curved edge; 1/8' + 1/8". This is the side that the crown is attached too.

Now comes the tricky bit. I'll do my best to explain this next step.......

I marked the center point on the crown and the headpiece. I also marked a point on each side of the crown where the gathering will begin and stop, leaving the crown straight; approximately 3" up from the casing on each side. The curved side of the crown ( rolled hem edge) needs to be gathered to fit the headpiece. Over the rolled hem I worked a whipped gather stitch that was pulled tight to create very tight gathers along the edge. "The Lady's Guide to Plain Sewing" by a Lady, (available at www.kannikskorner.com) has an excellent description of how to work this stitch.  

Detail of the whipped gather stitch. It's hard to see in the photo but the stitches are roughly 1/8" apart. This is pulled tight to create the gathers in the next photo.


It worked easier for me to gather half of the crown at a time and attach it to the headpiece. I started on the right-side of the crown at the mark 3" up from the casing and whip gathered to the center point of the crown. It took some gentle persuasion and work to pull the gathers tight enough to fit the right half of the headpiece (Take your time and ease the gathers to form! Don't yank the thread or pull to hard because it could break from the tension. Use a STRONG hand-quilting thread or double your plain cotton thread for this step.) Matching the center points and the edges, I pinned the the crown and headpieces together.

Right half of the crown and headpiece pinned together. The pin at the top left of the photo is the center point of the the crown and headpiece.
Sewing the crown and headpiece together. The needle goes through the top edge of the headpiece fold and the loop of the whipped gather. The thread will lay naturally in the space between the gathers.
Stitching the headpiece and crown together was very simple. I did a overcast stitch (catching just the fold edges) from where the pieces were pinned together at the crown casing edge and back corner of headpiece to the 3' mark. When I reached the gathers I began catching each gather at the loop side closest to the headpiece and run the needle through the top edge of the headpiece (see photo above for a visual). The thread will naturally lay within the space between the gathers if the stitch is done correctly. 

Continue attaching the left side together in the same manner as the right side. When both sides are completely sewn, open the seam by gently working the headpiece away from the crown. This makes a very flat and tight seam without the bulk modern seams create.

The headpiece (left) and crown (right) after seam has been opened up.  You can see the overcast stitches that attach the pieces together.
Below is the finished day cap. The drawcord at the back really helped in making it fit a child's head. I decided not to do a ruffle (as in the illustration) around the cap. A period ruffle would be attached in the same manner as the crown to the headpiece; with whipped gathers. A nice piece of period lace would be another alternative to finishing the edge and dressing-up the cap. A chin strap could also be added similar to the one in the illustration.

The finished day cap. It reminds me of the day caps worn by the school girls in the latest Jane Eyre movie (2011).
*I realize the final cap is not an exact copy of the one illustrated in the book. The differences are minor but it bothered me enough that I went back and double checked (and triple checked) my measurements. All the measurements were correct. The casing at the neck edge makes the biggest difference in shape; without it the cap would be entirely to big for a girls head or even a woman's. The illustration is not clear if there is a working casing on the neck edge but adding it definitely helped.