The skirt was a fairly simply affair to work on today. I decided to use the skirt pattern pieces that were part of the Laughing Moon #126 pattern instead of drafting out an entirely new one. The base for the bodice was from the same pattern so there would be no thinking or planning involved....easy peasy.
The skirt (c. 1800-1810) will be a bit narrower than what would have been fashionable in 1820 but I'm not too concerned. Extant images and garments from this period in St. Louis show lots of skirts similar to this one. Also, I've no doubt that a woman of my age had items in her wardrobe spanning more than one or two years. I have several items in my closet today that are older than 10 years so there's no doubt in my mind that my 1820 persona would too. Garments were often remade or refashioned to reflect the times. It's a reasonable assumption that a dress, as long as it was in wearable shape, would continue to be worn. Okay, I'm done soapboxing.
Let's get to it.
 |
| I laid out the fabric and cut out the two back panels. The front panel had already been cut out. Once cut, I had three pieces: two large back panels and one front panel cut on the fold. I did transfer all the pattern markings to the panels but ended up using only the one for the side slit (which I went ahead and cut during this step). My skirt would not be attached in the same fashion as the L.M. pattern instructed. |
 |
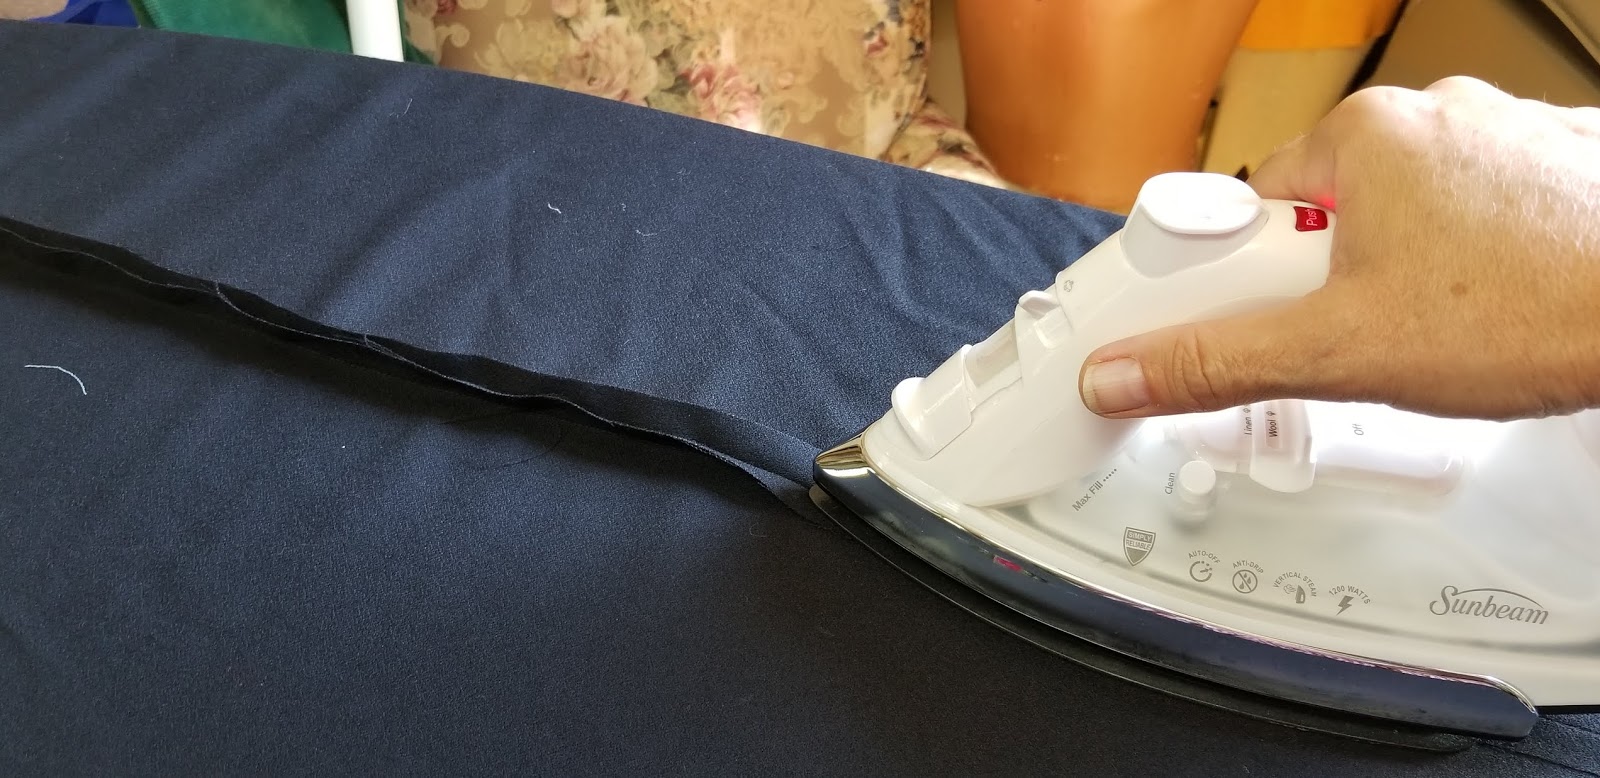
| The two back panels were sewn together and the seam pressed open. I did not add the front panel yet. It will be sewn on later. |
 |
| Back panel seam pressed open. |
 |
| The side slit was folded over about 1/2" starting at the top of the opening then tapering to nothing at the bottom. Then the cut edge was folding under itself again creating a very small edge to be sewn down. |
 |
| The slit edge is pinned and ready to sew. |
 |
| At the bottom of the slit, where there was not enough fabric to fold over, I whipped-stitched the curve. This helps reinforce a weak area. I will add some reinforcement to keep it from ripping out during use in the next step. |
 |
| Once the slit was completely stitched, I placed both sides of the slit together and pinned it closed at the bottom. The area that curves slightly up on the right is the bottom edge of the slit. |
 |
| I whip-stitched the bottom opening of the slit about 1/4"-1/2" to give it some stability. The photo shows the very bottom edge where it is the weakest. |
 |
| The stitched only caught the top edge of the fabric otherwise it will create a noticeable 'pucker' on the outside of the panel. I only want to give it some extra reinforcement at the lower edge not sew a massive seam. |
 |
| How the finished reinforcement looks from the outside of the panel. This is less than 1/2" long. |
 |
| Now that the side slits are both sewn the front panel could be added. I didn't want to wrestle extra fabric until it was necessary. |
 |
| The front panel, back panels and slide slits are complete. At this point, I have a large tube. I'm ready to attach it to the bodice. |
To be continued..........
Other posts related to the project
Making an early 19th-century mourning dress
Making an early 19th-century mourning dress: Skirt, Bodice, and Bib
Making an early 19th-century mourning dress: Sleeves


No comments:
Post a Comment